
Deciphering the Engine’s Breath: A Comprehensive Guide to MAP Sensor Testing with a Multimeter
Related Articles: Deciphering the Engine’s Breath: A Comprehensive Guide to MAP Sensor Testing with a Multimeter
Introduction
In this auspicious occasion, we are delighted to delve into the intriguing topic related to Deciphering the Engine’s Breath: A Comprehensive Guide to MAP Sensor Testing with a Multimeter. Let’s weave interesting information and offer fresh perspectives to the readers.
Table of Content
Deciphering the Engine’s Breath: A Comprehensive Guide to MAP Sensor Testing with a Multimeter
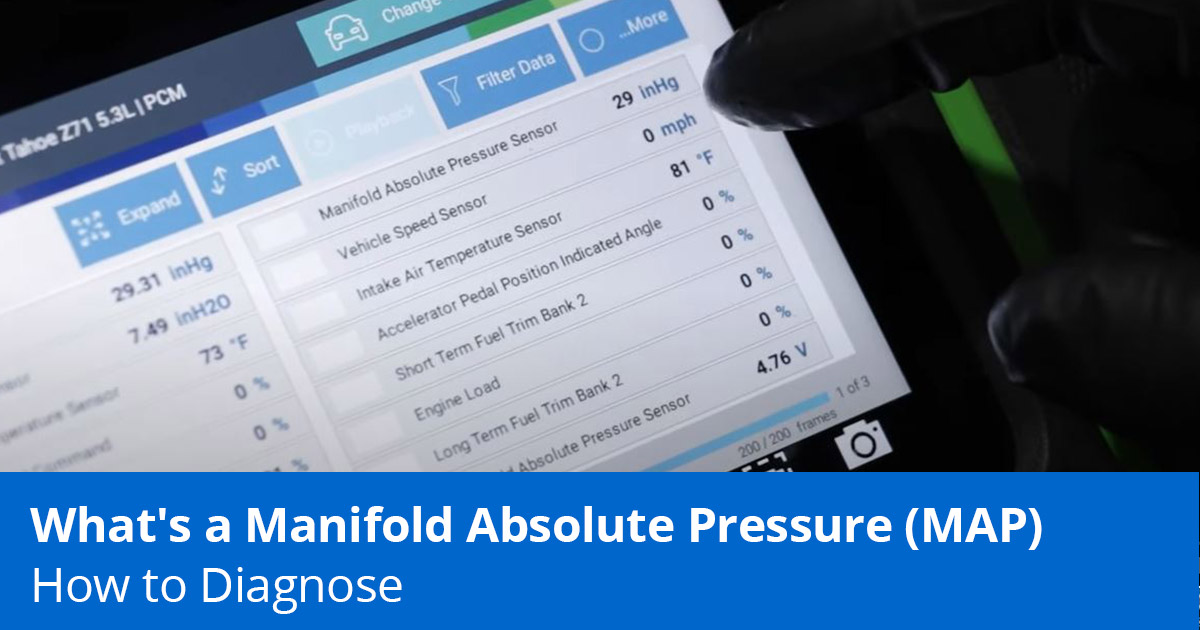
The manifold absolute pressure (MAP) sensor, a vital component in modern automotive engines, plays a crucial role in determining engine load and adjusting fuel-air mixture for optimal performance. When this sensor malfunctions, it can lead to a range of issues, including poor fuel economy, rough idling, hesitation during acceleration, and even engine misfires.
This article provides a detailed guide on how to test a MAP sensor using a multimeter, empowering individuals to diagnose potential issues and ensure their engine operates efficiently.
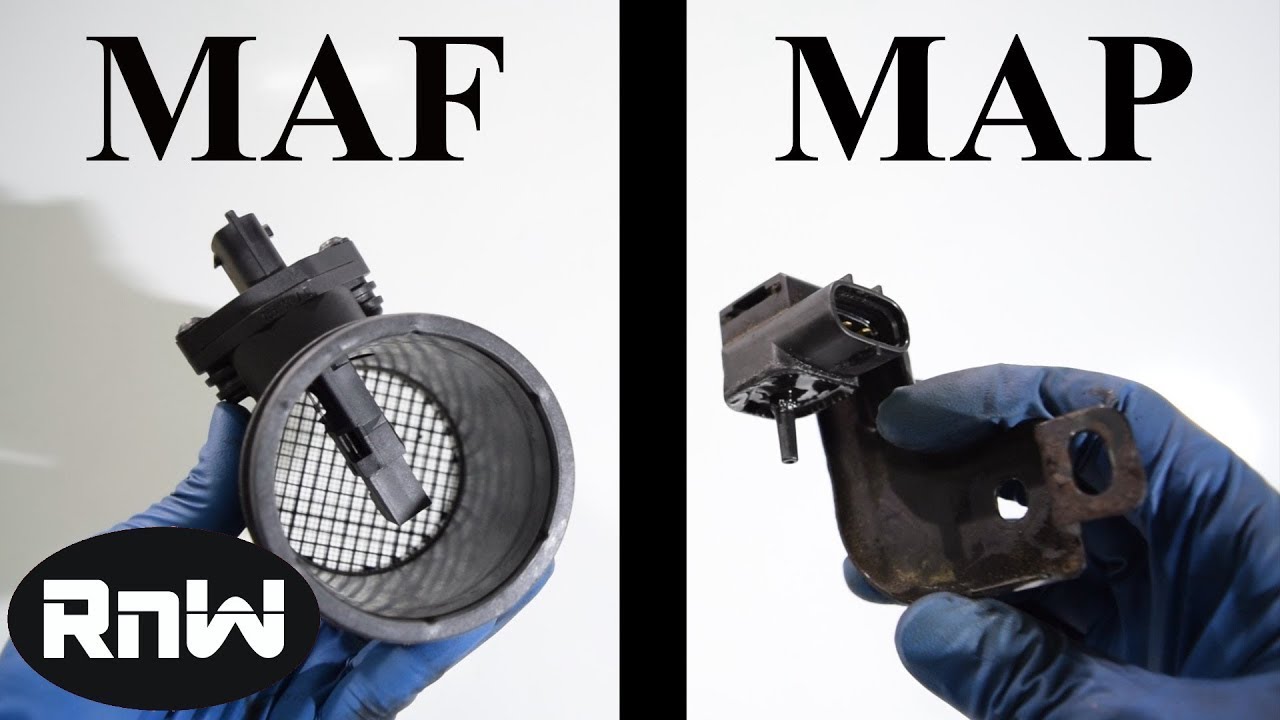
Understanding the MAP Sensor’s Role:
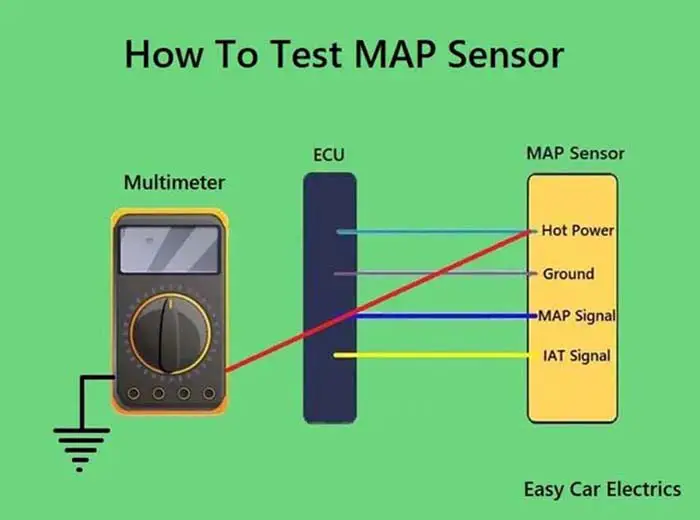
The MAP sensor is a critical element in the engine management system. Its primary function is to measure the absolute pressure within the intake manifold. This pressure is directly proportional to the engine load, providing valuable information to the engine control unit (ECU). Based on this input, the ECU adjusts the fuel injection timing and duration to maintain optimal air-fuel ratios, ensuring smooth combustion and efficient power delivery.
Signs of a Faulty MAP Sensor:
Several symptoms can indicate a malfunctioning MAP sensor, including:
- Poor Fuel Economy: An inaccurate MAP sensor reading can lead to an overly rich or lean fuel mixture, resulting in increased fuel consumption.
- Rough Idling: When the engine is idling, a faulty MAP sensor can cause inconsistent air-fuel ratios, leading to rough engine operation.
- Hesitation During Acceleration: A malfunctioning sensor may provide inaccurate readings, resulting in delayed fuel delivery and hesitation when accelerating.
- Engine Misfires: Erratic fuel-air mixtures caused by a faulty sensor can lead to misfires, causing engine performance issues.
- Check Engine Light (CEL): A malfunctioning MAP sensor often triggers the CEL, accompanied by a diagnostic trouble code (DTC) related to the sensor.
Testing the MAP Sensor with a Multimeter:
Testing a MAP sensor with a multimeter involves verifying its electrical continuity and resistance, as well as checking its output voltage under varying pressure conditions.
1. Visual Inspection:
Begin by inspecting the MAP sensor for any visible signs of damage, such as cracks, corrosion, or loose wiring. Ensure the sensor is securely mounted and the electrical connections are clean and free from corrosion.
2. Continuity Test:
- Disconnect the electrical connector from the MAP sensor.
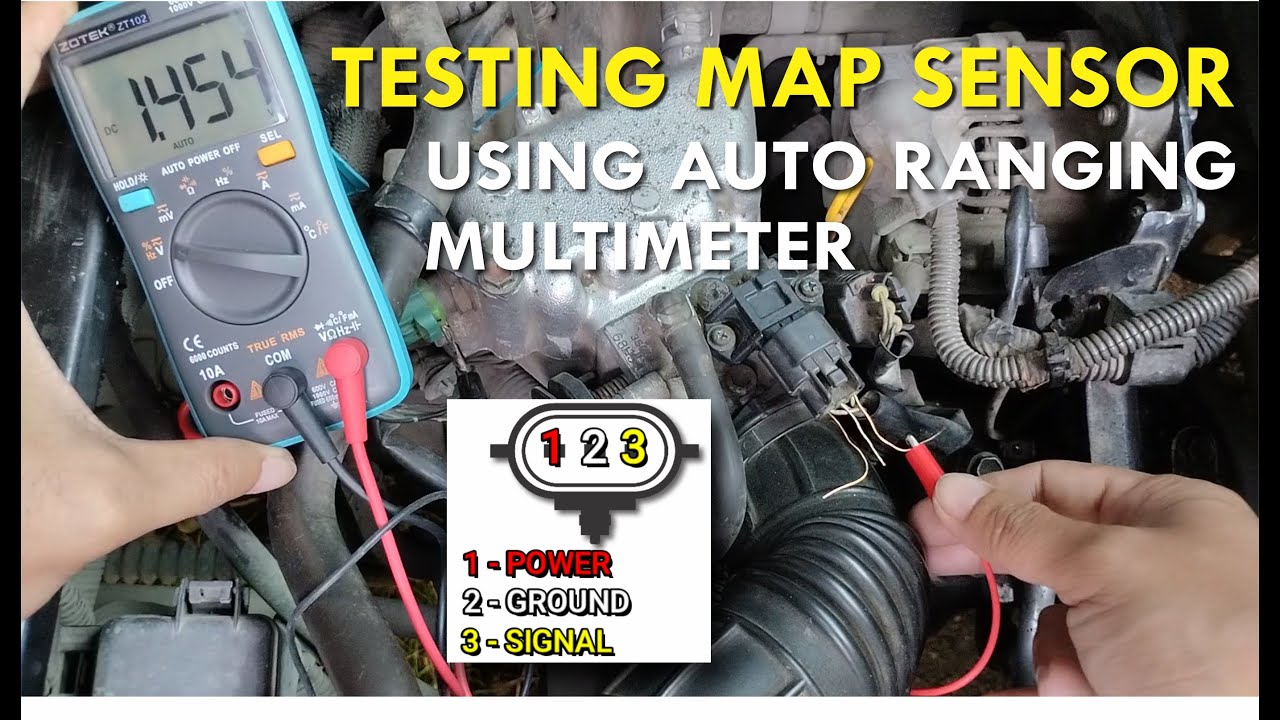
- Using a multimeter set to the ohmmeter function, test for continuity between the sensor’s terminals.
- Refer to the vehicle’s service manual or a reliable online resource to identify the correct terminal connections for your specific sensor.
- A continuous reading indicates that the sensor’s internal wiring is intact.
3. Resistance Test:
- Refer to the vehicle’s service manual or online resources to determine the expected resistance range for your MAP sensor.
- Using a multimeter set to the ohmmeter function, measure the resistance between the sensor’s terminals.
- If the resistance falls outside the specified range, the sensor may be faulty.
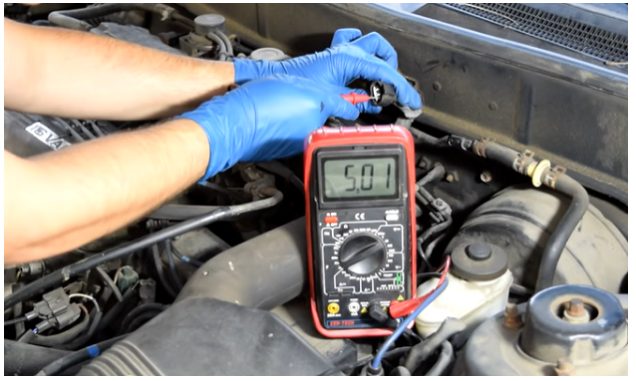
4. Output Voltage Test:
- Connect the multimeter to the sensor’s output terminal, ensuring the multimeter is set to the DC voltage function.
- Apply vacuum to the MAP sensor using a vacuum pump or a hand-held vacuum gauge.
- As vacuum increases, the output voltage should decrease.
- Compare the voltage readings to the specifications provided in the service manual.
- If the voltage readings are outside the specified range, the sensor may be malfunctioning.
5. Checking for Vacuum Leaks:
- While testing the MAP sensor, pay close attention to any signs of vacuum leaks.
- A hissing sound or a noticeable drop in vacuum pressure can indicate a leak in the intake manifold or vacuum lines.
- Repair any vacuum leaks before proceeding with further testing.
Interpreting the Test Results:
- If the continuity and resistance tests indicate a faulty sensor, the MAP sensor needs replacement.
- If the output voltage test shows inconsistent readings, the sensor may be malfunctioning, requiring replacement.
- If all tests indicate proper operation, the issue may lie elsewhere in the engine management system, requiring further investigation.
Tips for Successful MAP Sensor Testing:
- Consult the Service Manual: Refer to the vehicle’s service manual for specific testing procedures and specifications for your MAP sensor.
- Use a Reliable Multimeter: Employ a high-quality multimeter to ensure accurate readings during testing.
- Clean Connections: Ensure all electrical connections are clean and free from corrosion before testing.
- Vacuum Source: Use a reliable vacuum pump or a hand-held vacuum gauge for accurate pressure readings.
- Safety Precautions: Exercise caution when working around electrical components and ensure the engine is off and the ignition key is removed before disconnecting any electrical connectors.
FAQs Regarding MAP Sensor Testing with a Multimeter:
Q: Can I test a MAP sensor without a vacuum pump?
A: While a vacuum pump provides more accurate results, you can use a hand-held vacuum gauge to apply vacuum to the sensor. However, ensure the gauge is calibrated accurately and can provide sufficient vacuum for testing.
Q: What if the MAP sensor tests good but the engine still has problems?
A: If the MAP sensor tests good, other components in the engine management system may be faulty. This could include the ECU, vacuum lines, intake manifold, or other sensors. Further diagnosis is necessary to identify the root cause of the issue.
Q: Is it possible to adjust the MAP sensor?
A: MAP sensors are not adjustable. If the sensor is malfunctioning, it needs to be replaced.
Q: How often should I test my MAP sensor?
A: Regular testing of the MAP sensor is not necessary unless you suspect a malfunction. However, if you experience any of the symptoms mentioned earlier, it is advisable to test the sensor.
Conclusion:
Testing a MAP sensor with a multimeter is a valuable diagnostic tool for identifying potential issues with this crucial engine component. By understanding the sensor’s role, recognizing the signs of a malfunction, and performing the tests described in this guide, individuals can effectively diagnose and address MAP sensor problems, ensuring optimal engine performance and fuel efficiency. Remember to consult the vehicle’s service manual for specific instructions and specifications related to your MAP sensor.


Closure
Thus, we hope this article has provided valuable insights into Deciphering the Engine’s Breath: A Comprehensive Guide to MAP Sensor Testing with a Multimeter. We thank you for taking the time to read this article. See you in our next article!