
Unlocking Engine Efficiency: A Comprehensive Guide to Cleaning a MAP Sensor
Related Articles: Unlocking Engine Efficiency: A Comprehensive Guide to Cleaning a MAP Sensor
Introduction
With enthusiasm, let’s navigate through the intriguing topic related to Unlocking Engine Efficiency: A Comprehensive Guide to Cleaning a MAP Sensor. Let’s weave interesting information and offer fresh perspectives to the readers.
Table of Content
Unlocking Engine Efficiency: A Comprehensive Guide to Cleaning a MAP Sensor

The manifold absolute pressure (MAP) sensor plays a crucial role in modern automotive engines, providing the engine control unit (ECU) with vital information about the pressure within the intake manifold. This data is essential for calculating the precise amount of fuel to inject, ultimately influencing engine performance, fuel efficiency, and emissions. Over time, the MAP sensor can become contaminated with debris, oil, or other contaminants, hindering its ability to provide accurate readings and impacting engine operation. Cleaning the MAP sensor can restore its functionality, enhancing engine performance and fuel efficiency.
Understanding the MAP Sensor’s Role
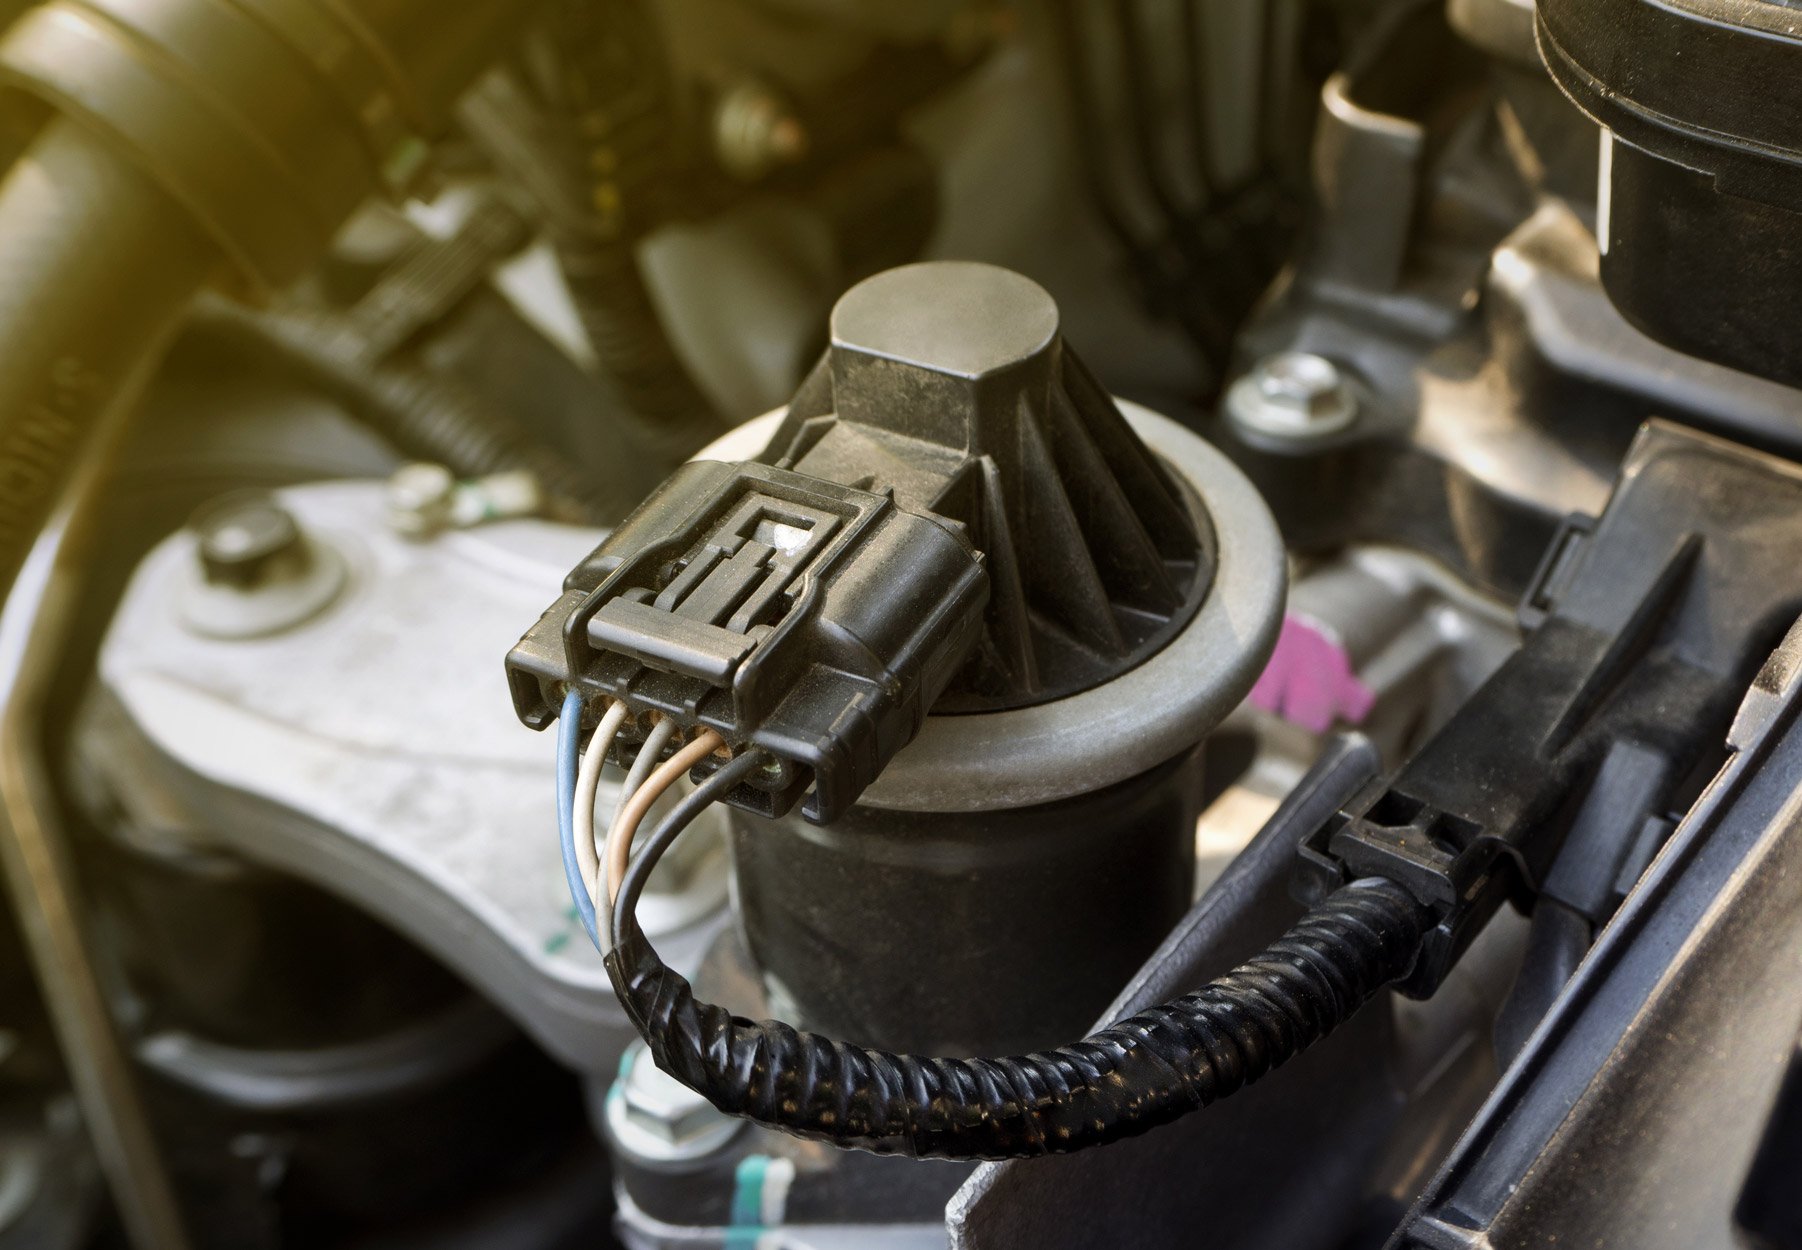
The MAP sensor is a small, electronic device typically located in the intake manifold, often near the throttle body. It consists of a diaphragm that is sensitive to pressure changes within the intake manifold. When air enters the manifold, the diaphragm flexes, altering the resistance within the sensor. This change in resistance is translated into a voltage signal that is transmitted to the ECU.
The ECU uses this voltage signal, along with other inputs like engine speed and temperature, to calculate the air mass entering the engine. This information is then used to determine the appropriate amount of fuel to inject for optimal combustion.
Signs of a Dirty MAP Sensor
A dirty MAP sensor can lead to a variety of engine performance issues, including:
- Rough idling: The engine may struggle to maintain a smooth idle, exhibiting erratic RPM fluctuations.
- Hesitation or stalling: The engine may hesitate during acceleration or stall completely, particularly at low RPMs.
- Reduced power: The engine may feel sluggish and lack power, particularly during acceleration.
- Increased fuel consumption: A dirty MAP sensor can lead to inaccurate fuel delivery, resulting in increased fuel consumption.
- Check engine light: The malfunctioning sensor may trigger the check engine light, indicating a problem with the engine control system.
Cleaning the MAP Sensor: A Step-by-Step Guide
Cleaning a MAP sensor is a relatively simple process that can be performed by most individuals with basic automotive knowledge. However, it is essential to follow the correct procedures to avoid damaging the sensor.
Materials Required:
- MAP sensor cleaner: This specialized cleaner is specifically designed to remove contaminants without damaging the sensor’s delicate components.
- Clean rags or paper towels: For wiping away excess cleaner and contaminants.
- Compressed air: For blowing away any remaining debris after cleaning.
- Protective gloves: To avoid contact with potentially harmful chemicals.
- Optional: A small brush or toothbrush: For gently scrubbing stubborn contaminants.
Procedure:
- Locate the MAP sensor: Consult your vehicle’s owner’s manual or an online resource to identify the location of the MAP sensor. It is typically found in the intake manifold, near the throttle body.
- Disconnect the electrical connector: Carefully disconnect the electrical connector leading to the MAP sensor. This will prevent any potential damage during the cleaning process.
- Remove the sensor: Depending on the vehicle, the sensor may be secured with a bolt, clip, or other fastening mechanism. Carefully remove the sensor, taking note of its orientation and any associated components.
-
Clean the sensor:
- Spray the MAP sensor with MAP sensor cleaner: Apply the cleaner liberally to all surfaces of the sensor, ensuring that the diaphragm and the sensor’s internal components are thoroughly covered.
- Allow the cleaner to soak for a few minutes: This will give the cleaner time to break down and dissolve any contaminants.
- Gently scrub the sensor: If necessary, use a small brush or toothbrush to gently scrub any stubborn contaminants. Avoid applying excessive pressure, as this could damage the sensor.
- Rinse the sensor with compressed air: After cleaning, use compressed air to blow away any remaining debris and cleaner residue. Ensure that the sensor is completely dry before proceeding.
- Reinstall the sensor: Carefully reattach the MAP sensor to its original location, ensuring that it is properly secured and aligned.
- Reconnect the electrical connector: Connect the electrical connector to the MAP sensor, ensuring that it is securely seated.
- Start the engine: Start the engine and allow it to run for a few minutes to ensure that the MAP sensor is functioning correctly.
Important Considerations:
- Avoid using harsh chemicals: Use only MAP sensor cleaner specifically designed for this purpose. Avoid using general-purpose cleaners or solvents, as these can damage the sensor’s delicate components.
- Handle the sensor with care: The MAP sensor is a sensitive device. Avoid dropping or applying excessive pressure to the sensor during cleaning and reinstallation.
- Inspect the sensor for damage: Before reinstalling the sensor, inspect it for any signs of damage, such as cracks, tears, or corrosion. If any damage is present, replace the sensor with a new one.
- Clear the check engine light: After cleaning the MAP sensor, clear the check engine light using an OBD-II scanner. If the light returns, there may be another underlying issue that needs to be addressed.
FAQs about Cleaning a MAP Sensor
Q: How often should I clean my MAP sensor?
A: There is no set schedule for cleaning a MAP sensor. The frequency depends on factors such as driving conditions, environmental factors, and the age of the vehicle. However, it is generally recommended to clean the sensor every 30,000 to 50,000 miles or if you notice any signs of a dirty sensor, such as rough idling or reduced power.
Q: Can I clean a MAP sensor without removing it?
A: It is generally not recommended to clean a MAP sensor without removing it. This is because it is difficult to ensure that the cleaner reaches all surfaces of the sensor without removing it. Additionally, attempting to clean the sensor in place could introduce debris or contaminants into the intake manifold.
Q: Can I use brake cleaner to clean a MAP sensor?
A: No, brake cleaner is not suitable for cleaning a MAP sensor. Brake cleaner is a harsh solvent that can damage the sensor’s delicate components. Use only MAP sensor cleaner specifically designed for this purpose.
Q: What happens if I don’t clean a dirty MAP sensor?
A: A dirty MAP sensor can lead to a variety of engine performance issues, including rough idling, hesitation, reduced power, increased fuel consumption, and even engine damage. In severe cases, a dirty MAP sensor can cause the engine to misfire or stall.
Tips for Cleaning a MAP Sensor
- Use a well-ventilated area: MAP sensor cleaner is a volatile substance. Work in a well-ventilated area to avoid inhaling the fumes.
- Wear protective gloves: Avoid direct contact with the cleaner, as it can irritate the skin.
- Protect surrounding areas: Cover any nearby surfaces with a drop cloth or plastic sheeting to prevent accidental spills or drips.
- Inspect the sensor after cleaning: After cleaning the sensor, inspect it for any remaining contaminants or damage.
- Test drive the vehicle: After reinstalling the sensor, test drive the vehicle to ensure that the engine is running smoothly and that the sensor is functioning correctly.
Conclusion
Cleaning a MAP sensor is a relatively straightforward process that can improve engine performance, fuel efficiency, and emissions. By following the steps outlined above, you can restore the functionality of your MAP sensor and ensure that your engine is running at its best. Remember to use only MAP sensor cleaner specifically designed for this purpose, handle the sensor with care, and inspect it for damage before reinstalling. If you are unsure about cleaning the MAP sensor yourself, consult a qualified mechanic.


Closure
Thus, we hope this article has provided valuable insights into Unlocking Engine Efficiency: A Comprehensive Guide to Cleaning a MAP Sensor. We thank you for taking the time to read this article. See you in our next article!